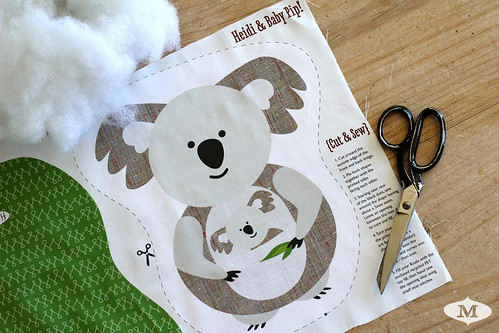
Here are some simple step-by-step instructions on how to make your Dinky-Dye Softie...
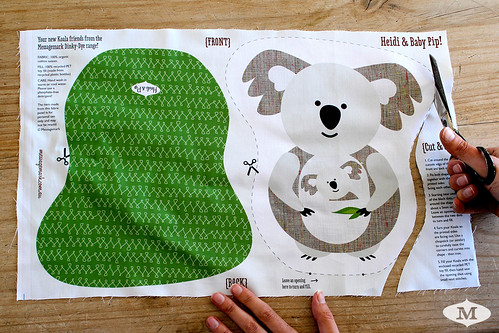

Cut around the outside edge of the front and back image.

Lie the two fabric pieces together with the printed sides facing each other.
Pin both shapes together to reduce movement during the sewing step.
Pin both shapes together to reduce movement during the sewing step.

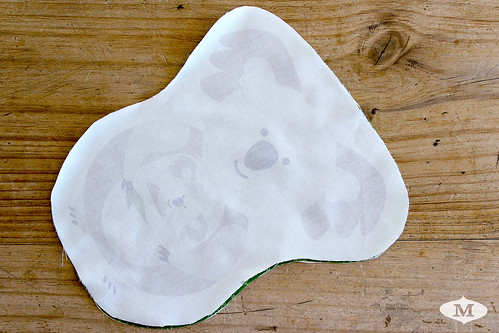
Starting near one of the black dots, sew around the shape leaving about a 5mm seam.
Leave an opening between the two dots to turn and fill.
Leave an opening between the two dots to turn and fill.
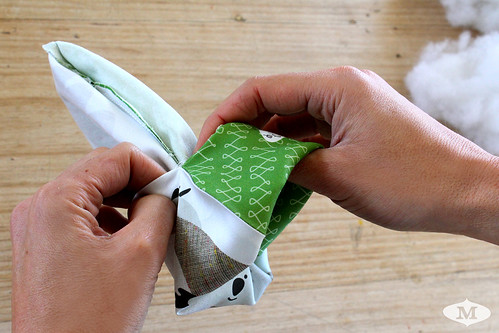
Turn your Softie so the printed sides are facing out.
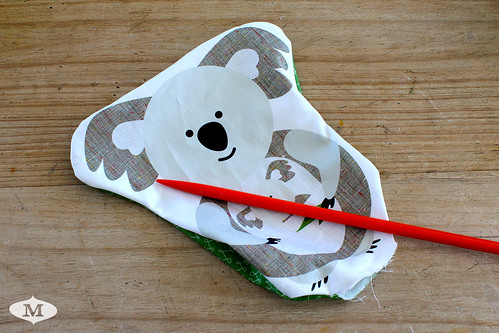
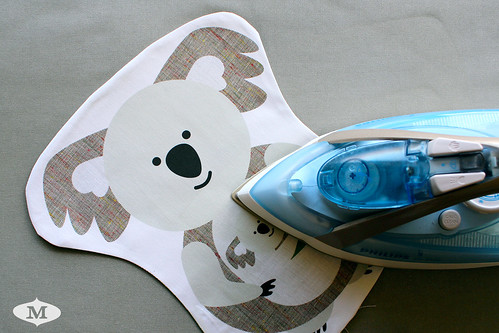
Use a knitting needle (or similar) to carefully ease the corners and curves into shape - then iron.

Fill your Softie with the enclosed recycled PET toy fill...

Then hand sew the opening shut using small neat stitches.
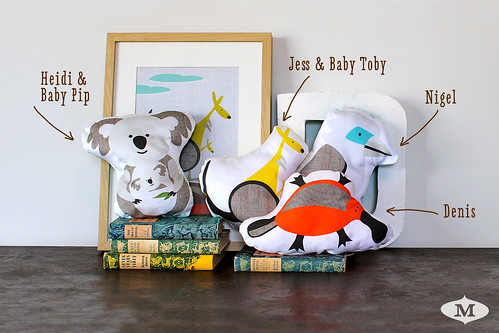
There you have it... your new Dinky-Dye Softie friend is complete!
To see the entire range of Messagemark craft kits, visit our Shop >
To see the entire range of Messagemark craft kits, visit our Shop >

0 comments :
Post a Comment
Add your comment.